Available from version 1.1.0
Administrators have access to the Blocks panel which they can use to manage the collection of blocks available in their Bloxby application. The Blocks panel is located under Elements > Blocks.
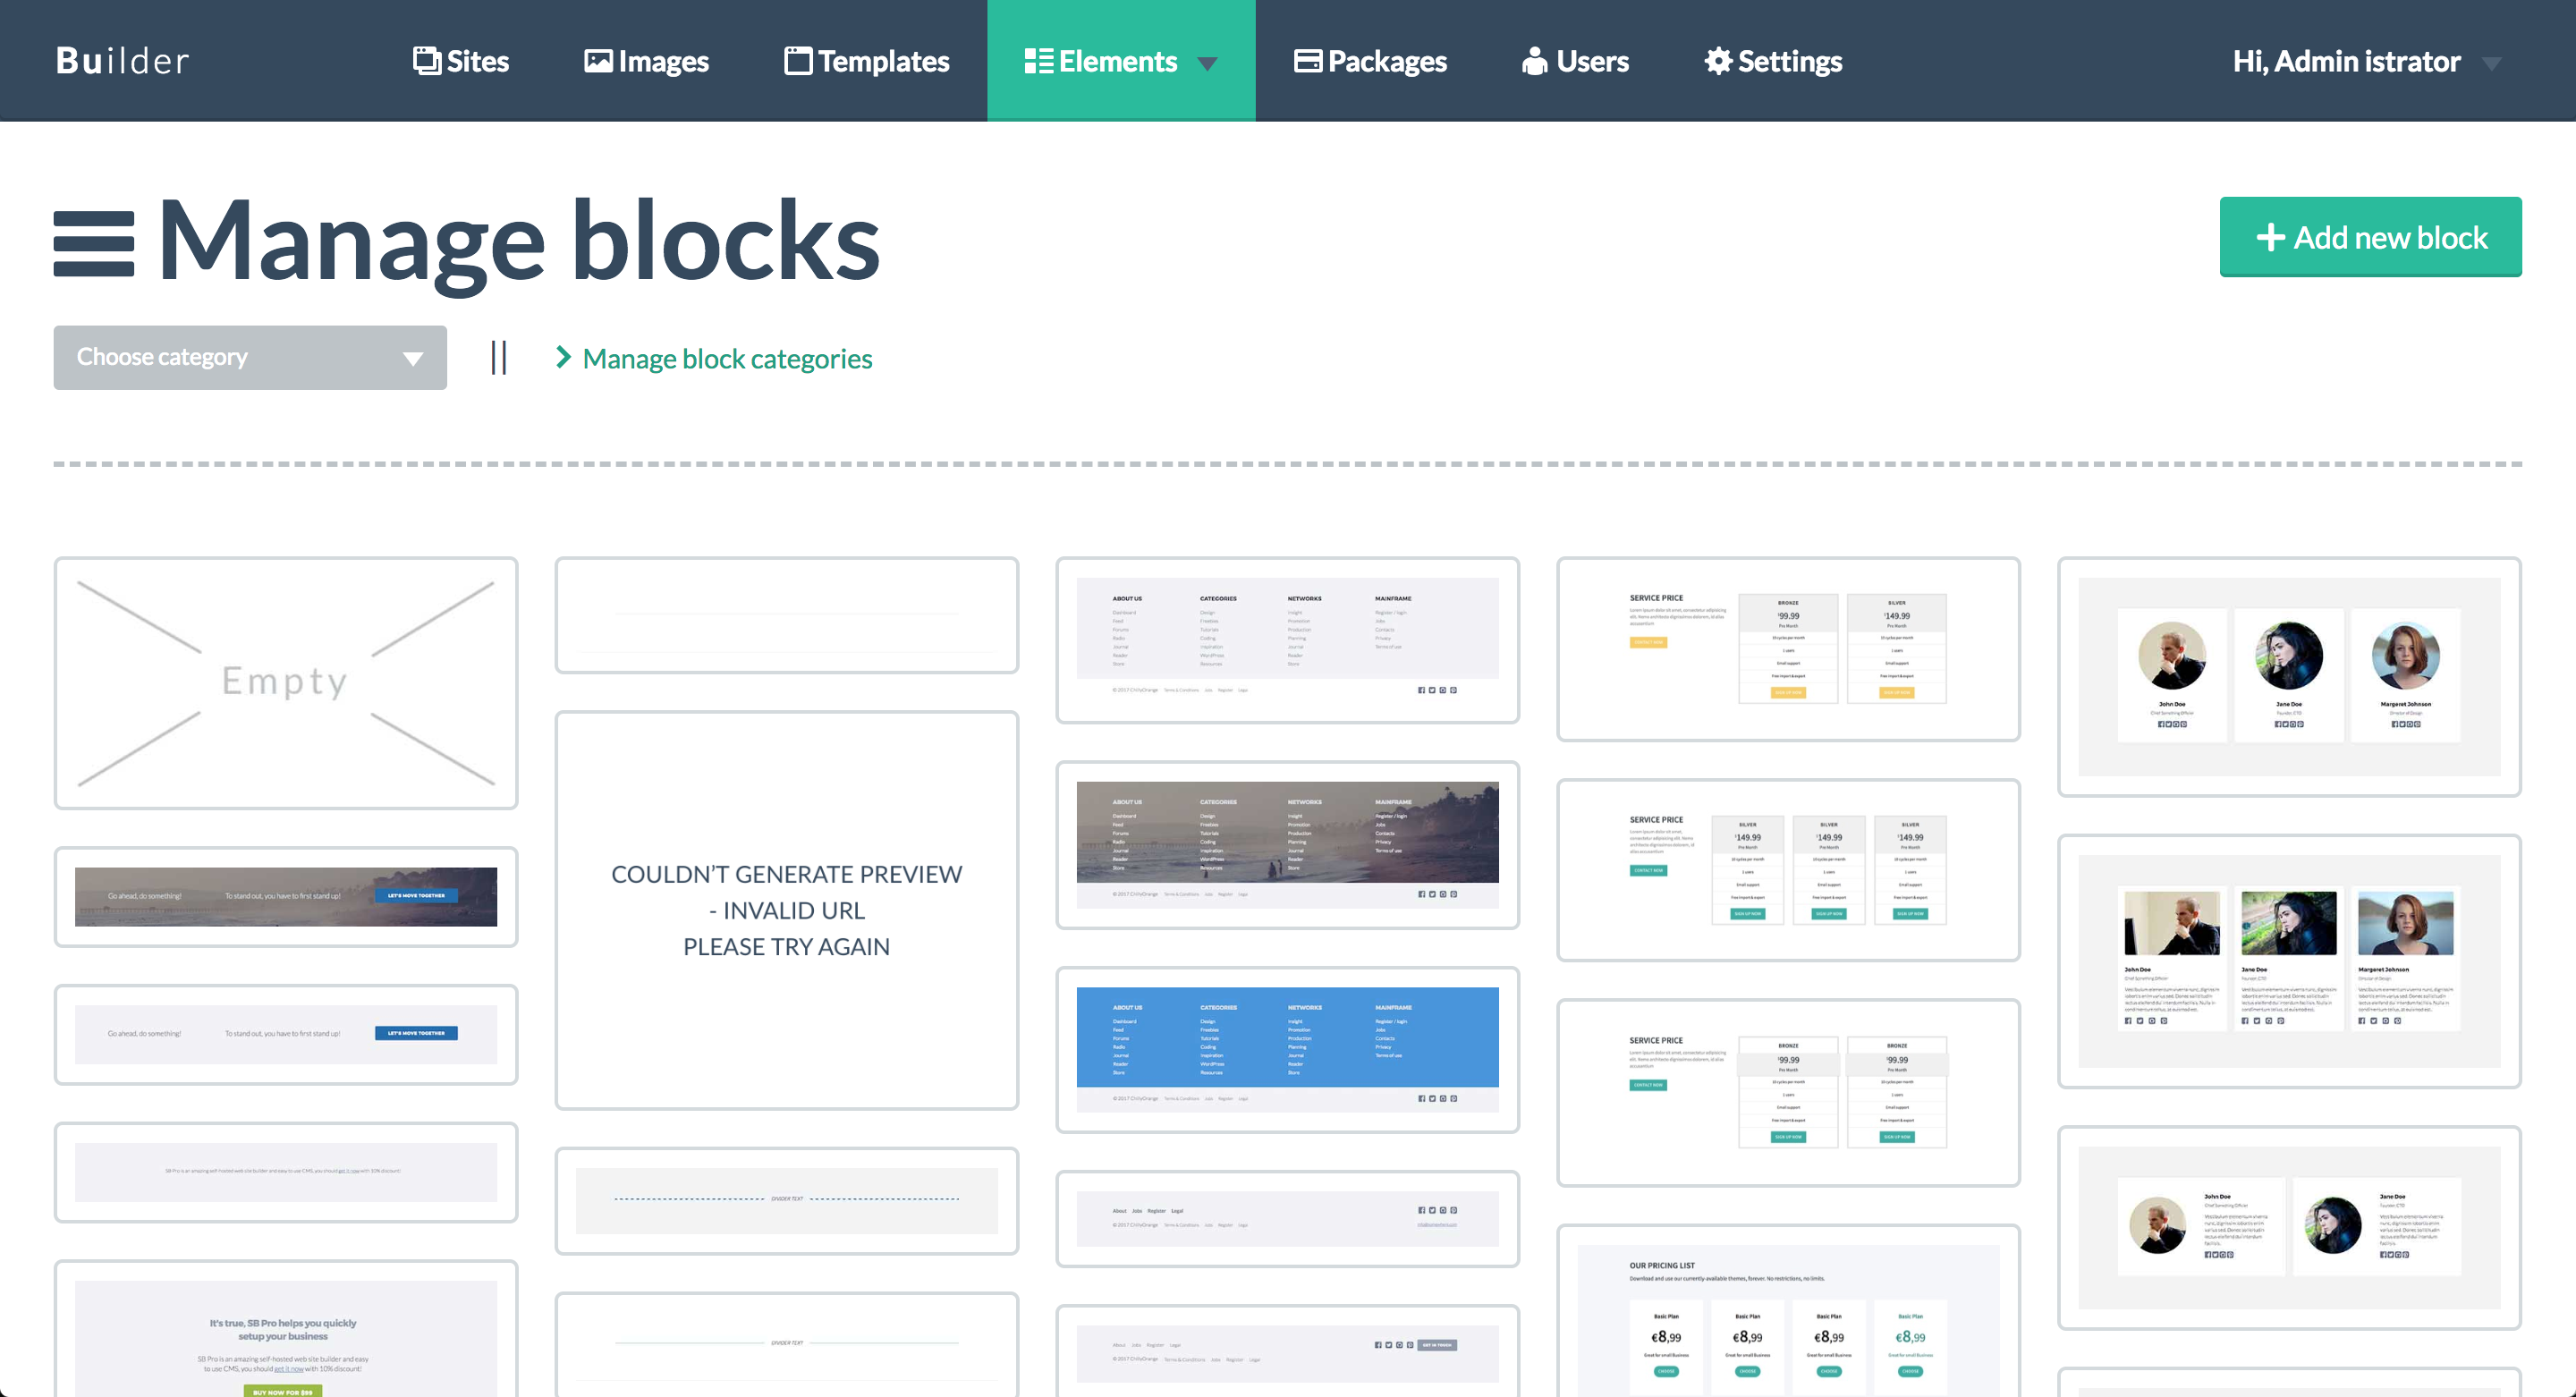
Managing block categories
Through the Blocks panel, Administrators can manage the application’s block categories as well. Clicking the link labeled “Manage block categories” will launch a modal popup giving access to the available categories. Within the categories modal, they can add, edit and remove block categories.
When an existing categories gets deleted, the Administrator can opt to move blocks currently assigned to the category to be deleted, to a different category.
Managing blocks
About blocks
A block is a selection of HTML elements bundled into a single unit. Each block is connected to an HTML file which contains the block’s source HTML code. Therefor, in order to modify a block’s source code, you will need to modify the linked HTML file. Please note that two or more blocks can share a single HTML file, and changes made to this HTML file will reflect in each block using this file’s source code.
Adding a new block
New blocks can be added to the application by clicking the green button labeled “+ Add new block”. This will launch a modal window with the following options:
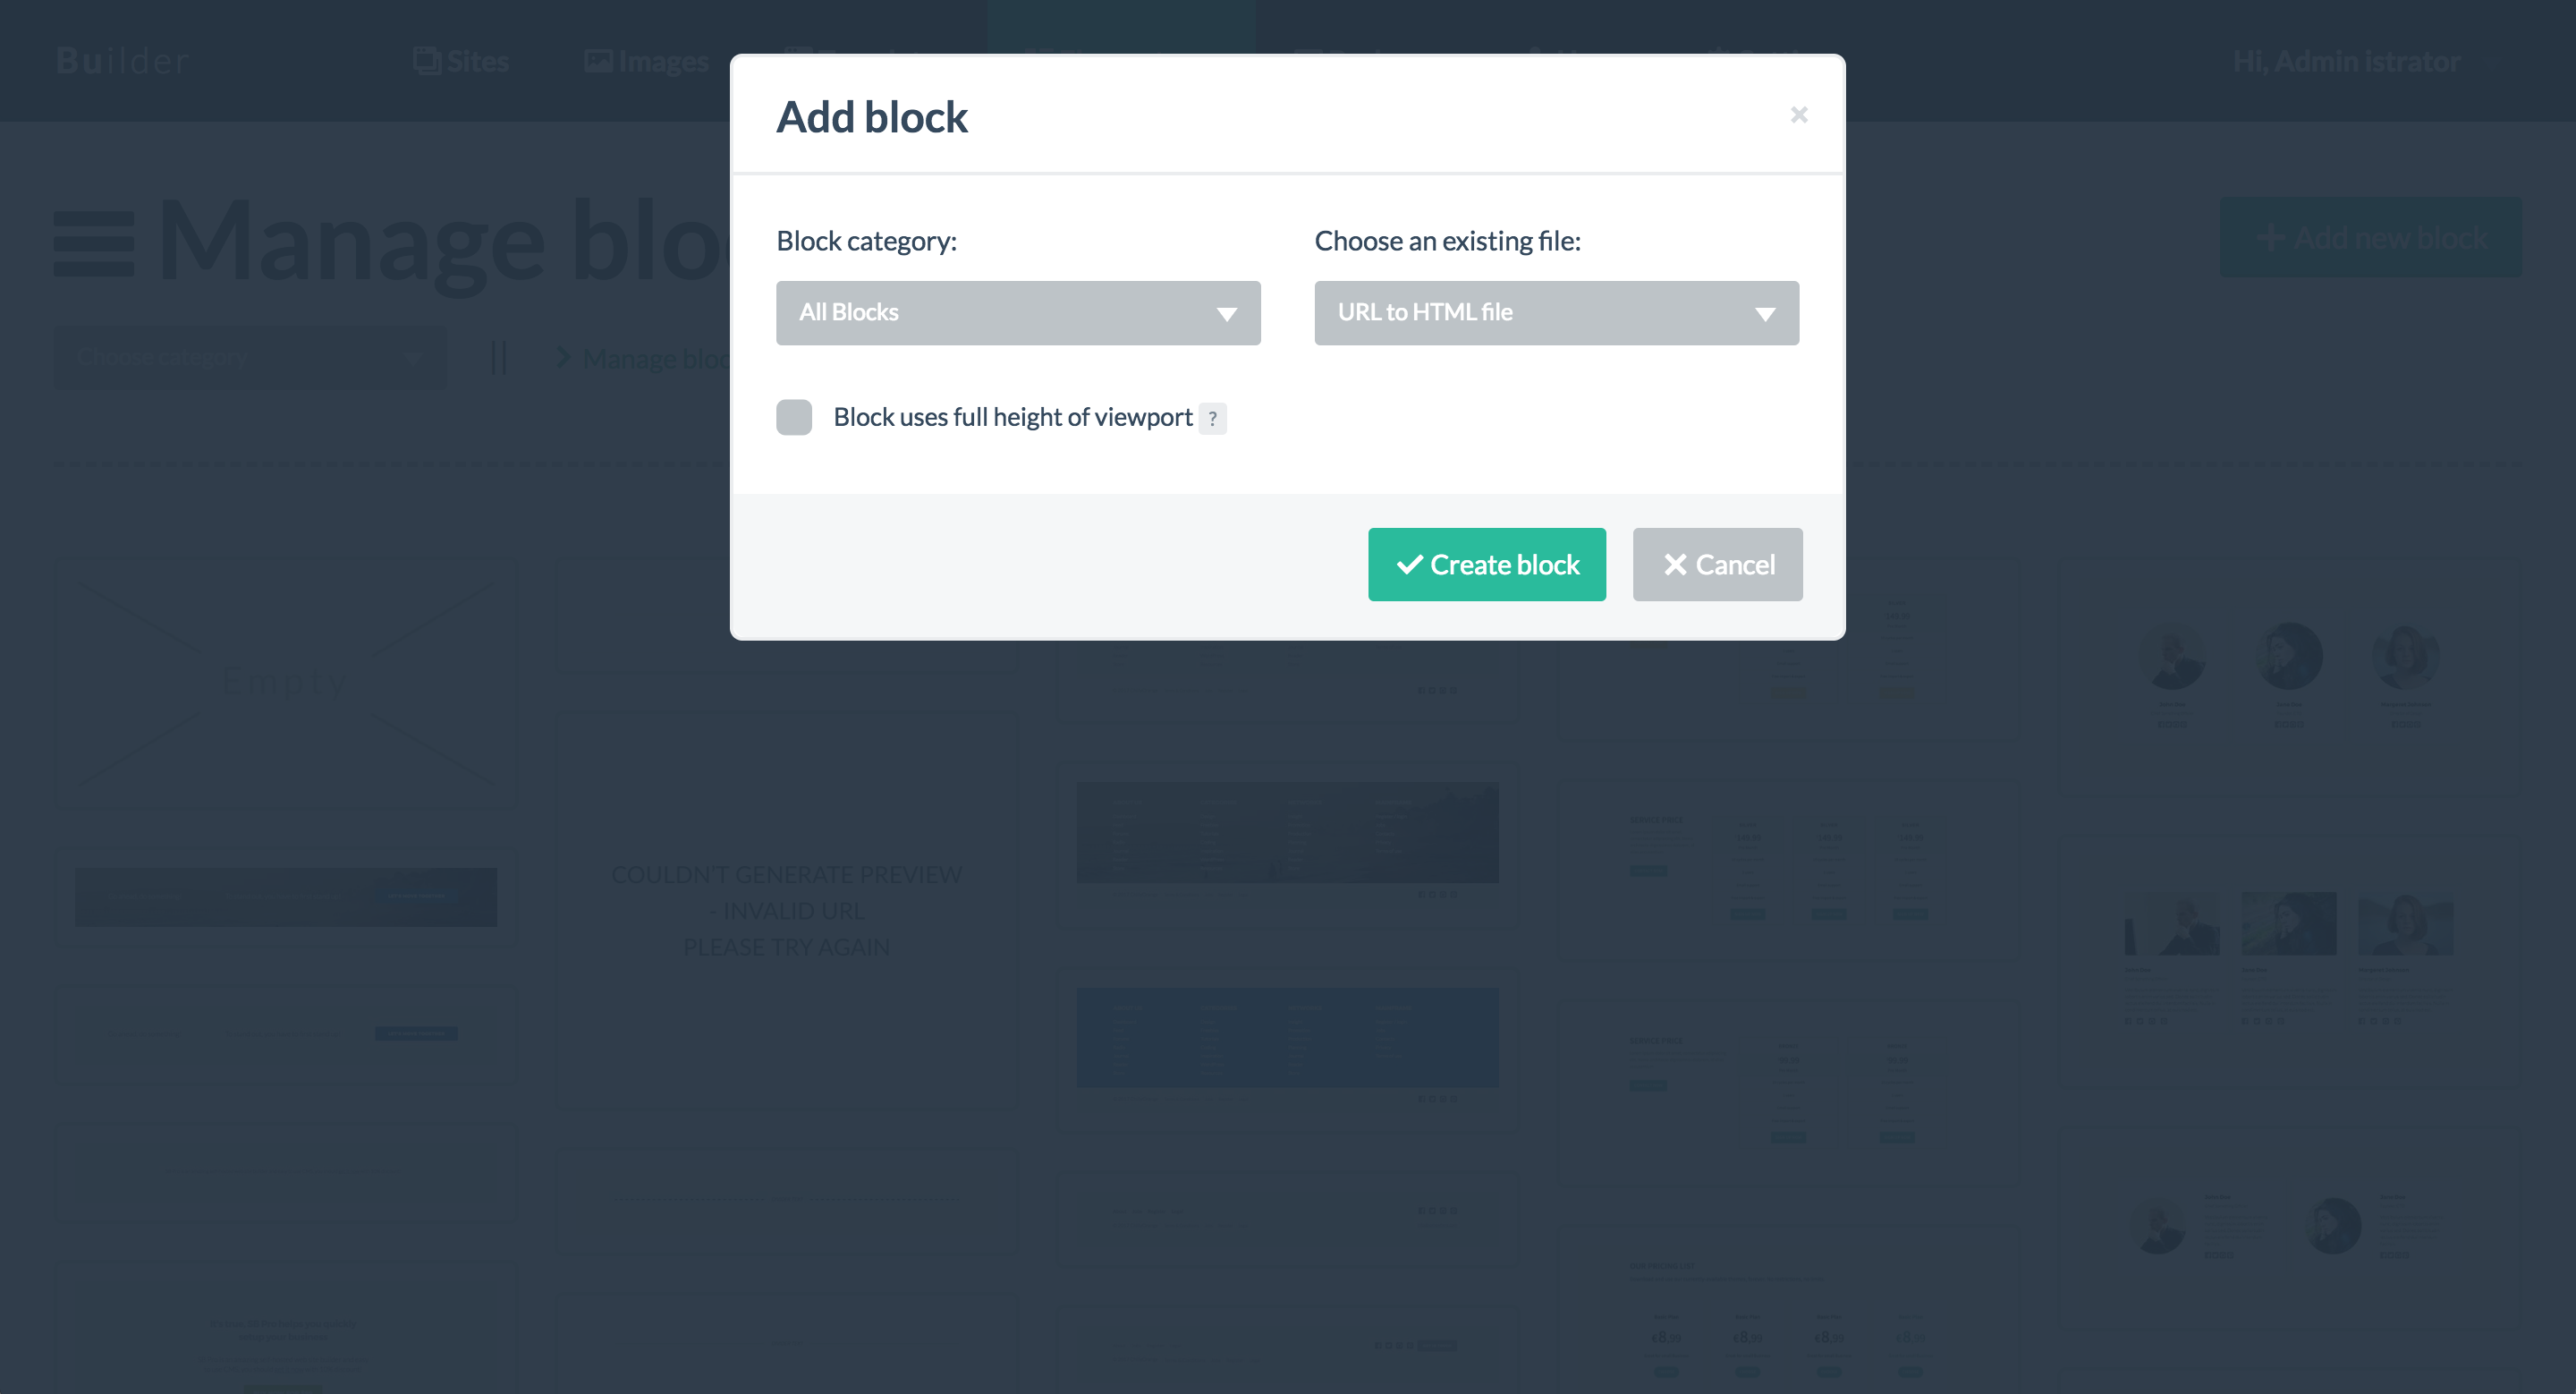
- Block category
This dropdown allows the category to be set to which this new block will be assigned - Choose an existing file
This dropdown allows an existing template file to be selected. This template file will contain the block’s source code. If you would like to create a new source file from scratch, please use the Block files browser to create a new source code file (the process is explained further down this article). - Block uses full height of viewport
If checked, this block will be marked as having a height of 100% of the available viewport.
When you add a new block, the application will automatically attempt to generate a block thumbnail to be used throughout the application.
Editing an existing block
An existing block can be edited by clicking on its thumbnail (you can use the category dropdown to limit the listed blocks).
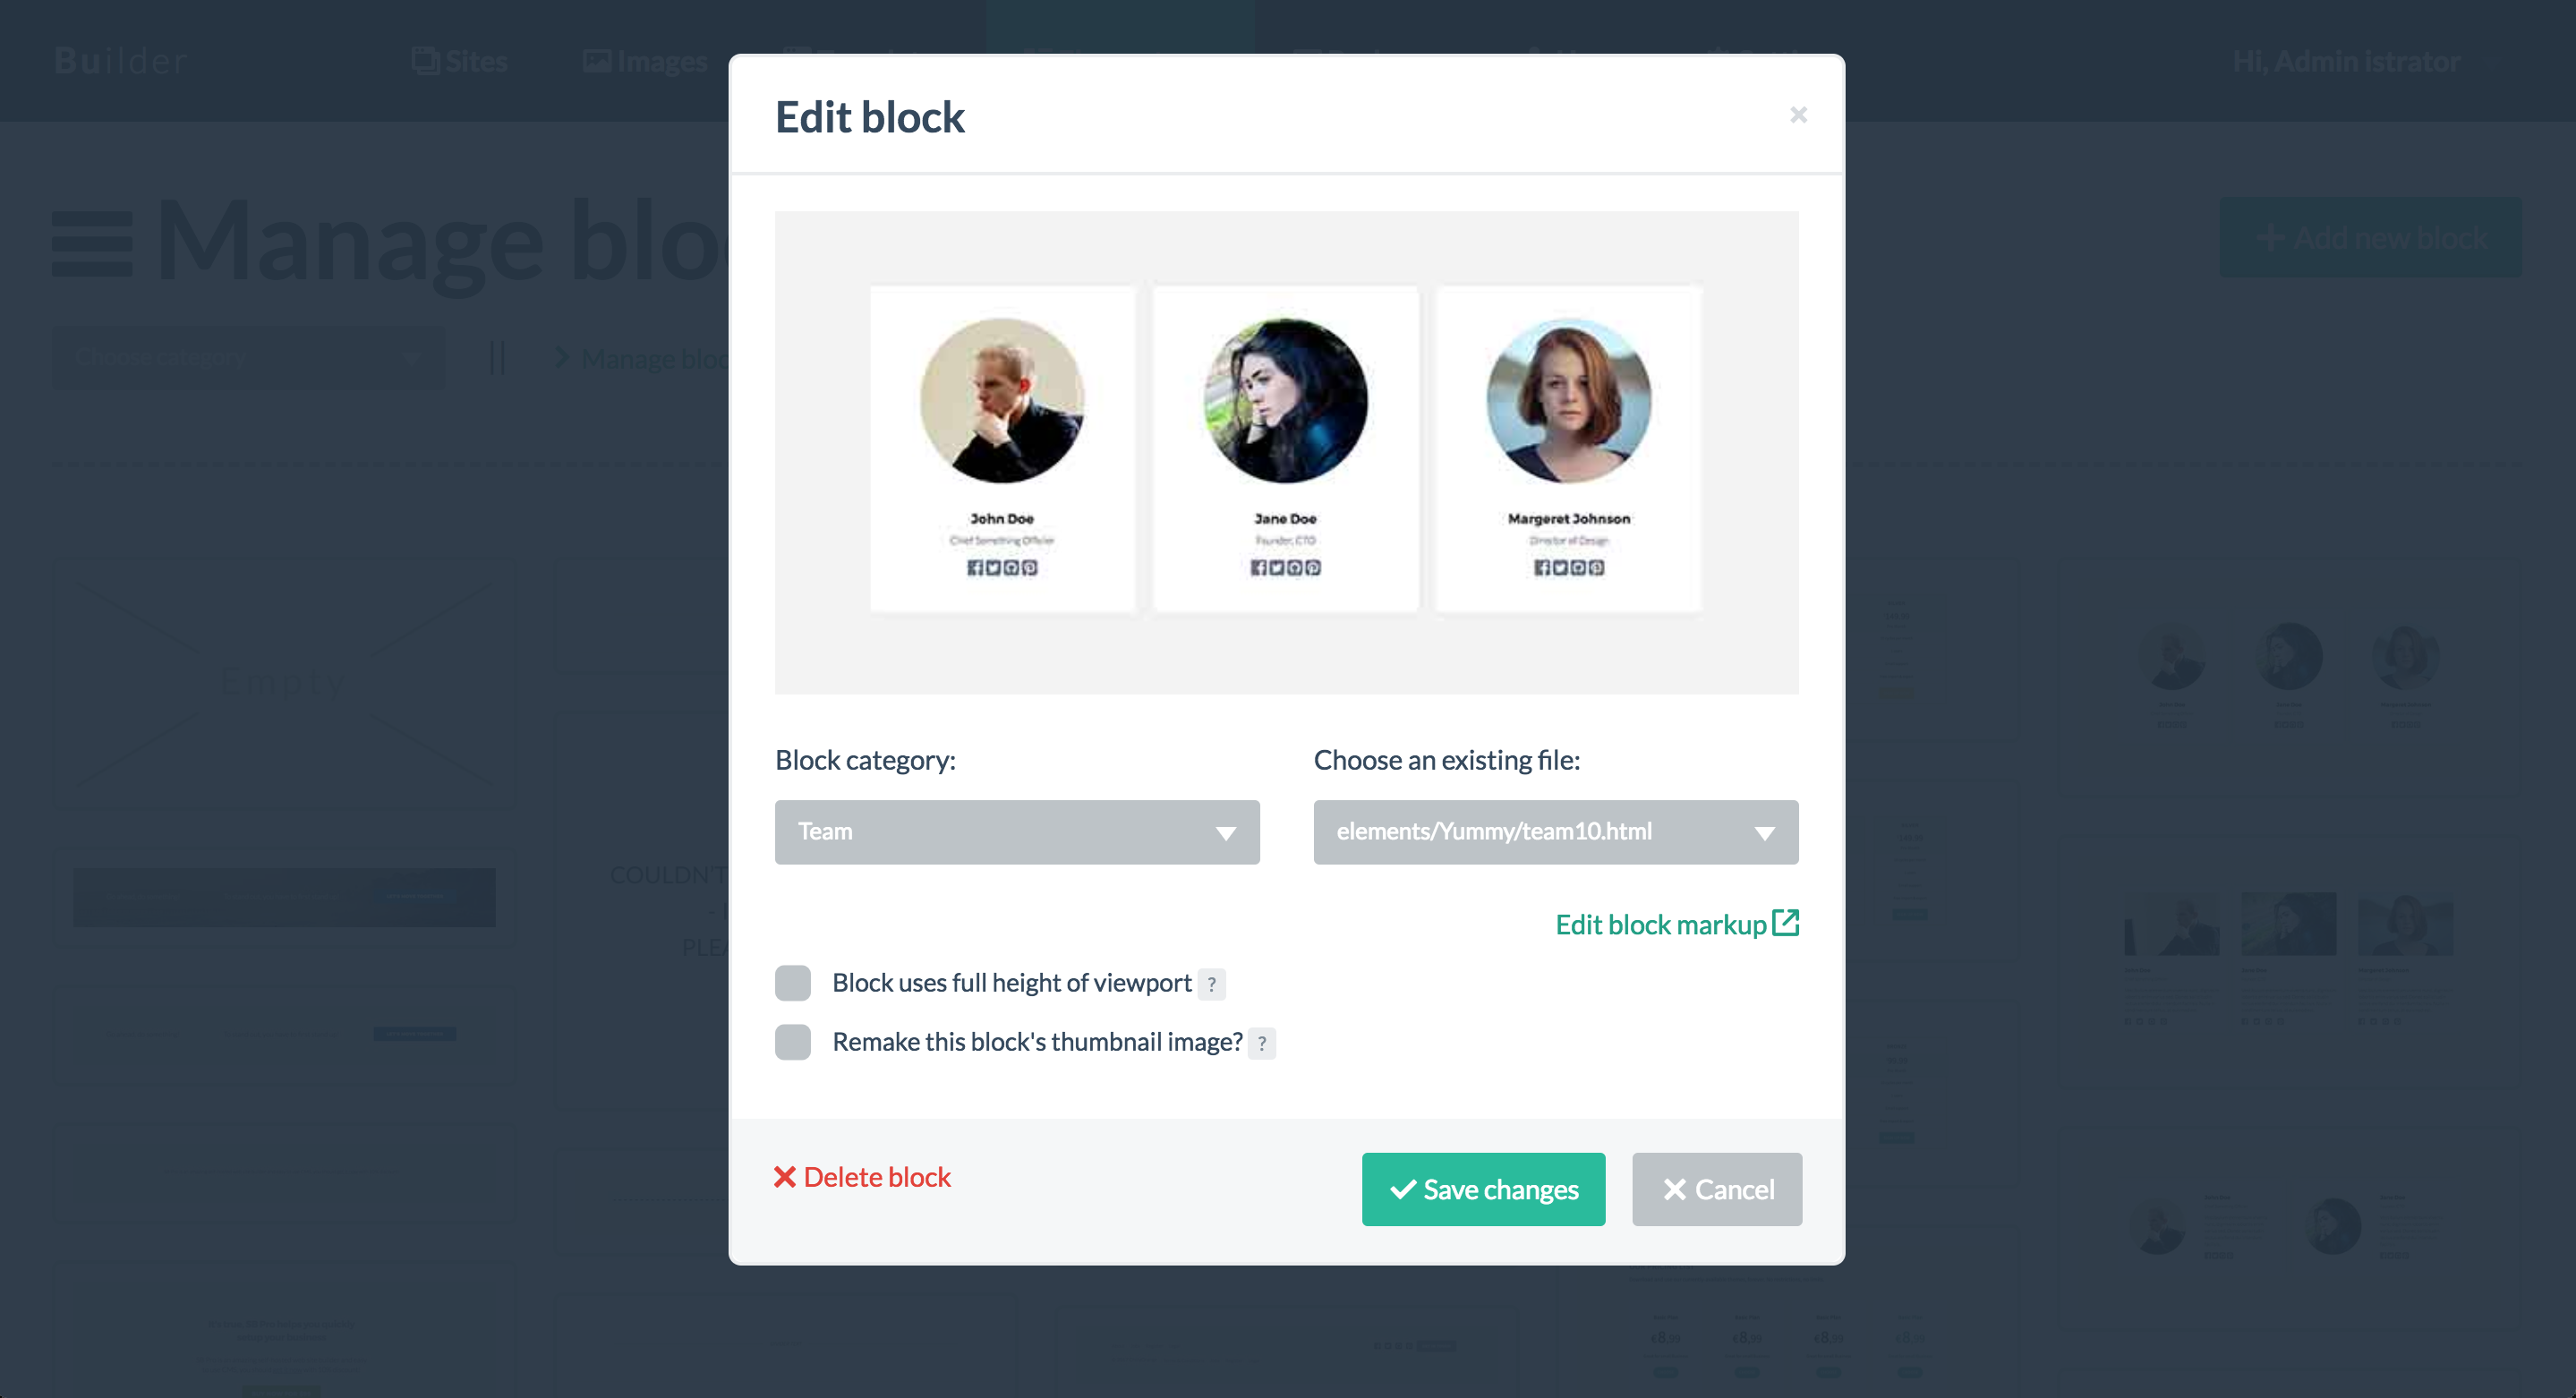
In addition to the block category, template file and height options, the edit modal contains an additional checkbox labeled “Remake this block’s thumbnail image?”. When checked, saving the block’s details will force Bloxby to generate a new thumbnail for this block. Please note that this is not the recommended method to generate a new thumbnail; instead we advice to use the page builder interface to generate a new block thumbnail.
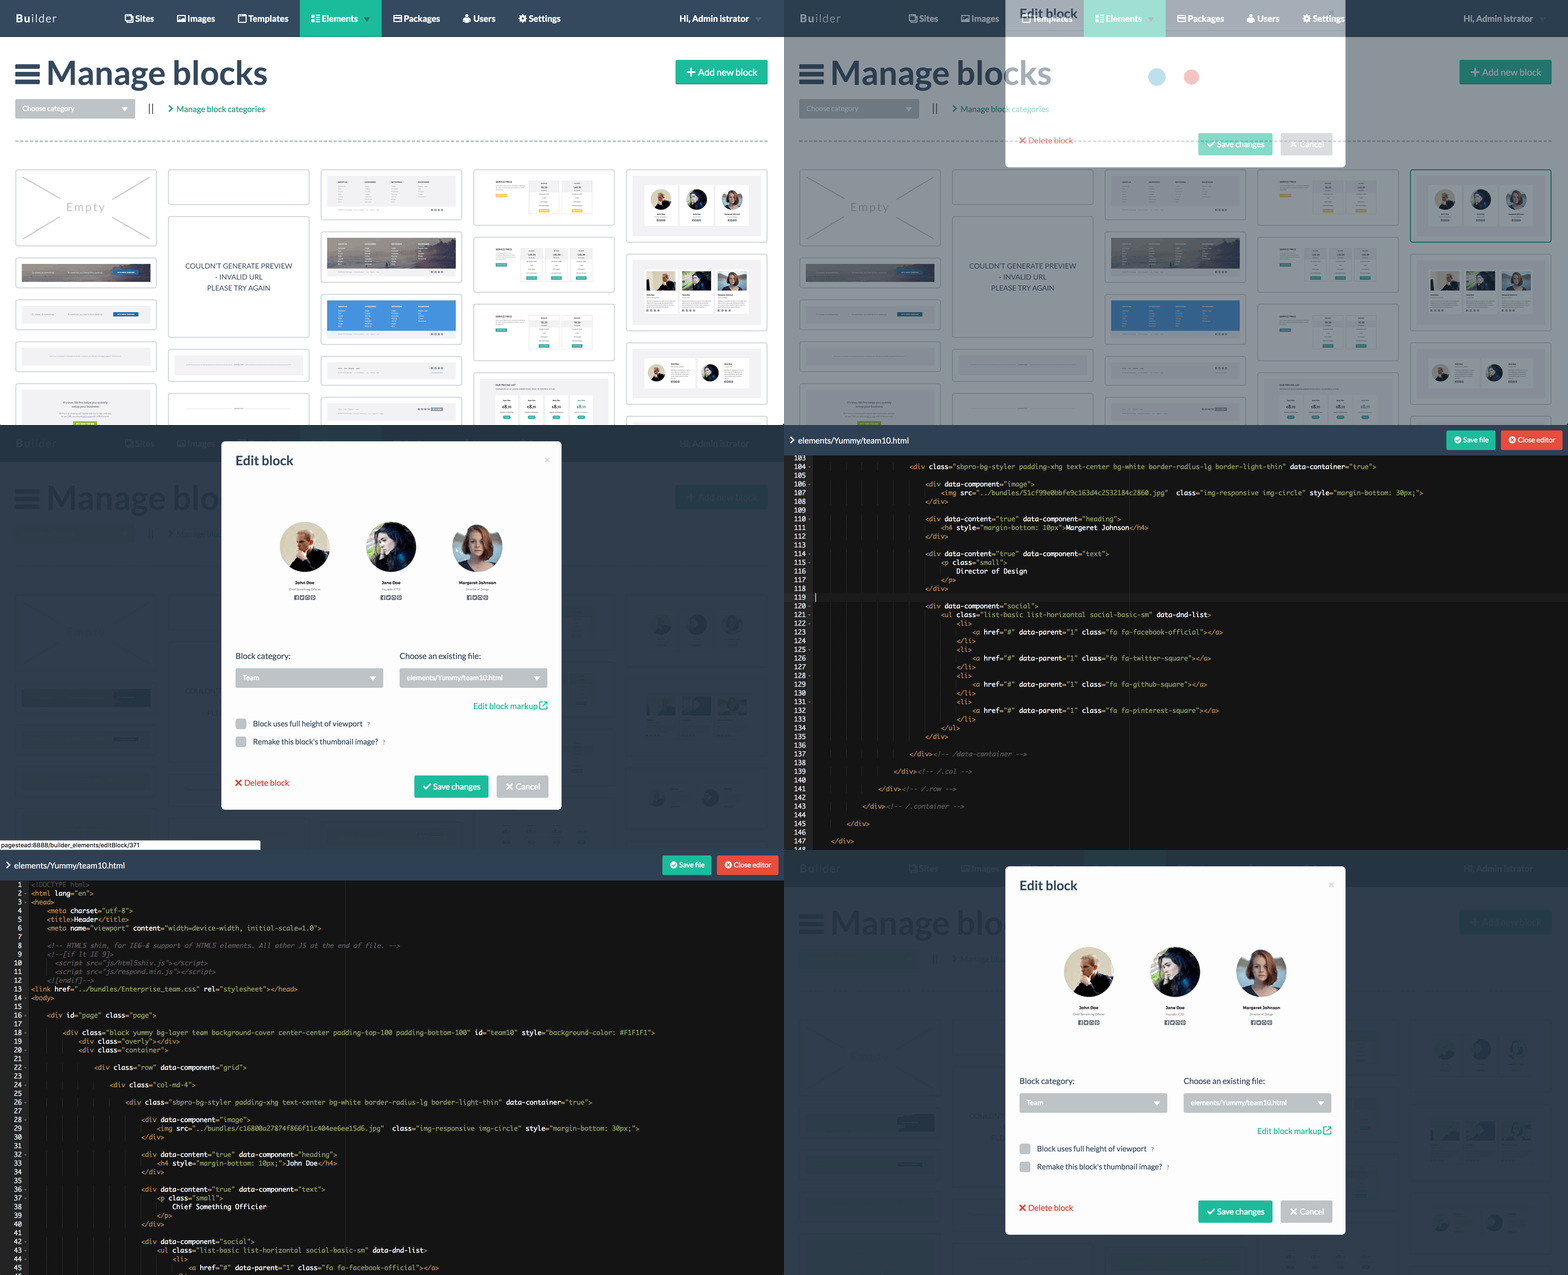
The edit modal also contains a link labeled “Edit block markup”. This link will open a source code editor allowing you access to the block’s source HTML. Keep in mind that when making changes to a block’s source code, these changes will not affect pages and sites created before these changes are applied. Only pages and sites created after the block’s source was changed will reflect these changes.
Adding a new block source file
When creating a new block, you will be asked to connect the new block with an existing HTML file. Obviously, there will be scenarios where you would like to create a new HTML file from scratch rather than use an existing one.
To achieve this, open op the Blocks file browser (under Elements in the main navigation). The Blocks file browser allows you to browse and modify all the files within the Elements folder (so essentially all files related to your blocks):
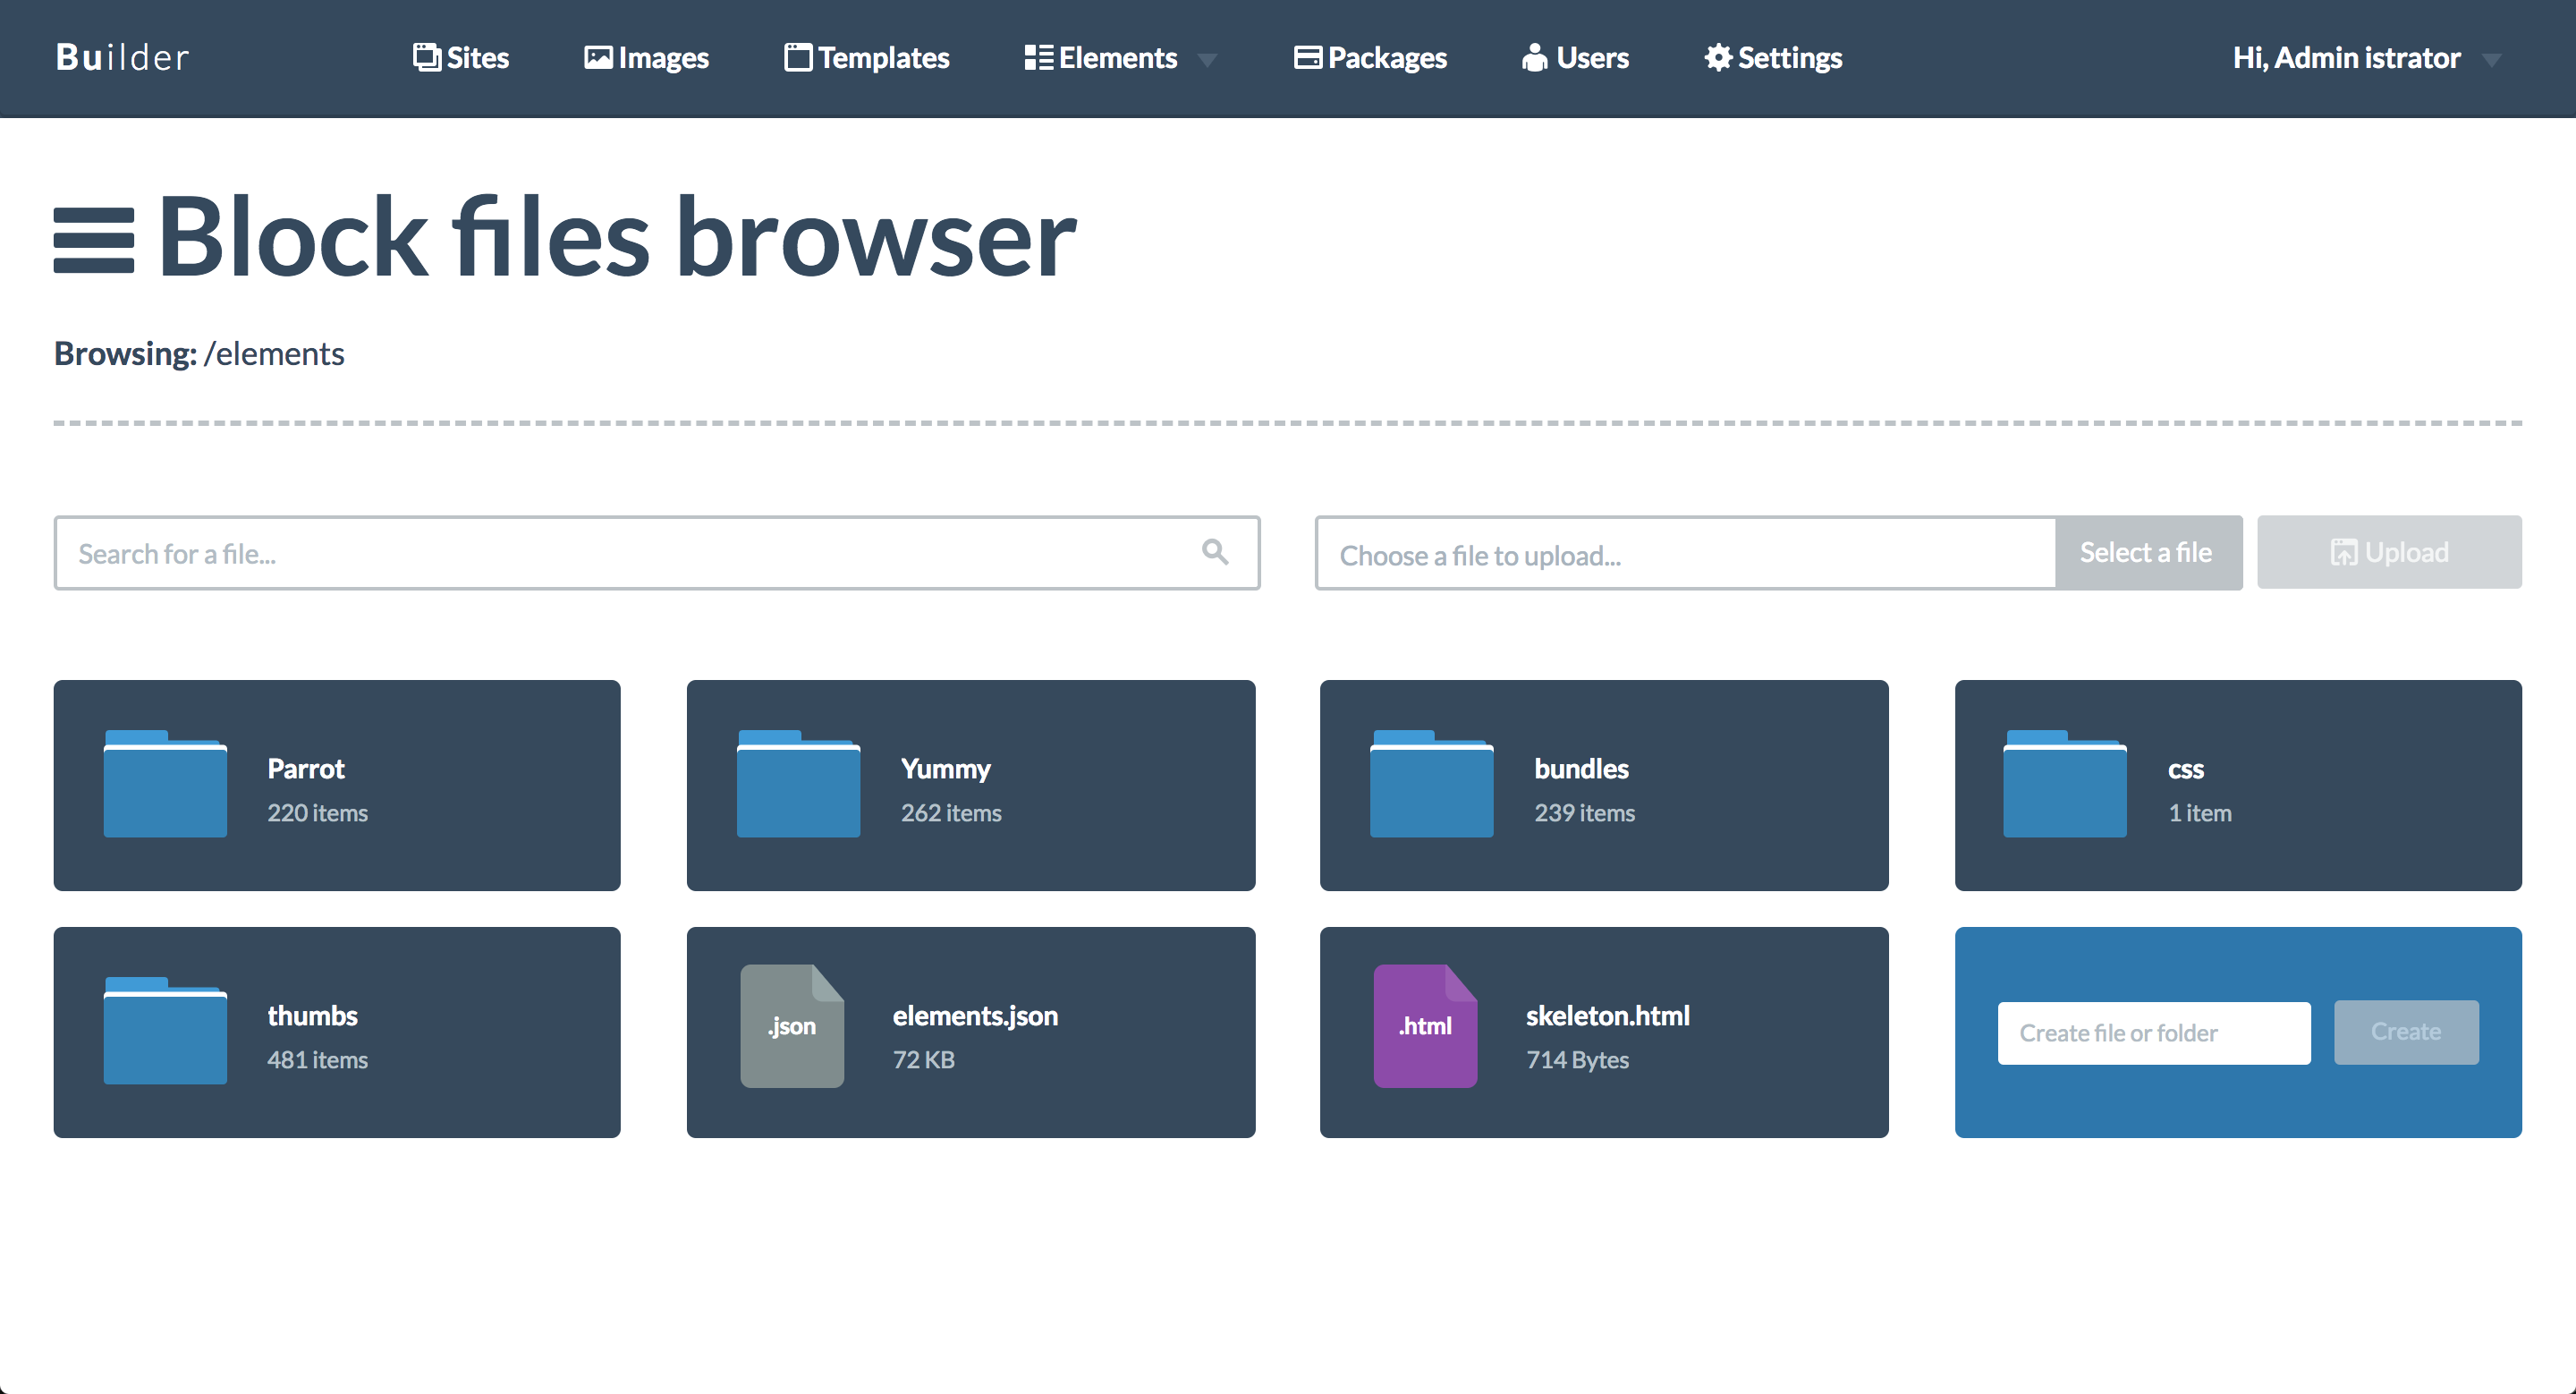
To add a new HTML file, locate the last item in the list, with the blue background. Provide the name for your new file in the field labeled “Create file or folder” and click the button labeled “Create”. Your file will be add to the current folder.
To edit the new file’s content, simply click the file name. This will open up the source code editor allowing you to modify the file’s content.
To learn more about the Block file browser, please have a look at the following article.

Leave A Comment?
You must be logged in to post a comment.